Replacing the seat mesh on a Herman Miller Aeron chair can be a daunting task, but with the right tools and a little patience, you can do it yourself. Follow this guide to replace your Aeron seat mesh without damaging your chair.
Tools and Materials You'll Need
- Replacement Aeron seat mesh
- Phillips screwdriver or power drill
- Vice grips or clamps
- Helper (optional but recommended)
Step-by-Step Instructions
1. Remove the Old Seat Mesh
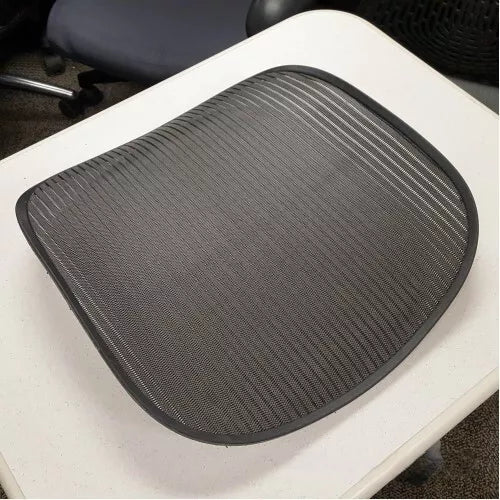
First, you need to remove the old seat mesh. Begin by removing the seat bolts and seat link bolts from both sides of the chair. Flip the seat over and remove the screws from the underside of the seat pan. This will separate the frame from the mesh. Push down on the mesh to remove it from the frame.
Caption for Image 1: Remove the screws from the underside of the seat pan to separate the frame from the mesh.
2. Prepare the New Mesh
Align your new seat mesh along the tracks, starting from the top. While holding the seat mesh in place, flip the seat pan over and install the top screws. Keep pushing the mesh hard while screwing it in.
Caption for Image 2: Align the new mesh along the tracks and start installing the top screws.
3. Install the Top Screws
Install the screws in the top corners next. Apply pressure to keep the mesh in the track, and after each screw is installed, flip the pan over to ensure that the area where you installed the screw is flush in the tracks.
Caption for Image 3: Apply pressure to keep the mesh in the track and install the top screws.
4. Secure the Middle and Bottom Screws
Push the rest of the seat mesh into the tracks, starting from the middle down to the bottom corners. Install the screws in the bottom corners next, and then move on to the middle section. Finally, install the last screws in the front on the bottom part.
Caption for Image 4: Secure the middle and bottom screws, ensuring the mesh stays in place.
5. Reattach the Seat Foam
Align the seat foam properly and push it as far in the front as possible while ensuring it's centered. Once everything is in place, reattach the seat bolts and seat link bolts. Tighten everything with a power drill or screwdriver.
Caption for Image 5: Reattach the seat foam and ensure it is properly aligned.
Tips and Troubleshooting
- Two-Person Job: Having a second person to help hold the mesh in place while you screw it in can make the process significantly easier.
- Avoid Stripping Screws: Be careful not to overtighten the screws to avoid stripping the threads in the mesh's plastic rim.
- Using Clamps: Use clamps or vice grips to hold the mesh in place while you screw it in. This can make the process easier and ensure the mesh stays tight and properly aligned.
Caption for Image 6: Having a helper and using clamps can make the process easier and prevent misalignment.
Conclusion
Replacing the seat mesh on your Herman Miller Aeron chair is a manageable DIY task with the right preparation and tools. By following these steps, you can restore the functionality and appearance of your chair without needing to replace the entire seat.

Leave a comment
This site is protected by hCaptcha and the hCaptcha Privacy Policy and Terms of Service apply.