Introduction to Gas Lifts and Herman Miller Aeron Chairs
Gas lifts are a critical component in office chairs, enabling height adjustment and ensuring ergonomic comfort for users. They function through a compressed gas cylinder that allows the chair to raise or lower smoothly based on the user's preference. Designed to withstand frequent use, gas lifts enhance workspace adaptability and user productivity.

Inside a gas lift. The orange release pin (right) is pressed by the height lever: it opens a valve so the seat can move, and closes it again to hold the height.
Photo: Forgószék javítás, CC BY-SA 4.0, via Wikimedia Commons
The Herman Miller Aeron chairs boast excellent, innovative ergonomic design; for that matter, high-quality gas lifts are used in the chair design. Designed to be functional and long-lasting, the chairs have been superior in comfort and support. Their adjustable features in height, posture, and tilt mechanisms are suited for diverse needs. Understanding how the gas lift works is important for any maintenance or replacement tasks.
Why You Might Need to Replace the Gas Lift on Your Aeron Chair
Over time, an Aeron chair's gas lift mechanism degrades and begins to affect the sitting experience. The common signs of mechanisms that need replacement include inability to hold the desired height or sudden sinking when seated. Using a broken gas lift will lead to poor posture and discomfort with long sitting.
These could be due to wear and tear, overloading, or simply the natural degradation of the parts. Other than the above, bad adjustment habits may result in quicker degradation of the gas spring mechanism. Replacement of the gas lift will keep the chair ergonomic, hence prolonging the service life and usability period.
Tools and Materials Required for the Job
Preparing the right tools and materials will go a long way in making the process of replacing the gas lift for a Herman Miller Aeron chair smooth and efficient. Here is a list of items needed for the procedure:
Tools:
- Rubber mallet: A rubber mallet will be used to loosen the old gas lift without causing damage.
- Pipe wrench or adjustable wrench: for clamping and twisting the lift cylinder whenever necessary.
- Flathead screwdriver: Helps in removing retaining clips or other chair parts.
- Allen keys: To unscrew bolts holding chair parts in place.
- Work gloves: Provides much-needed grip and protection in the process.
Materials:
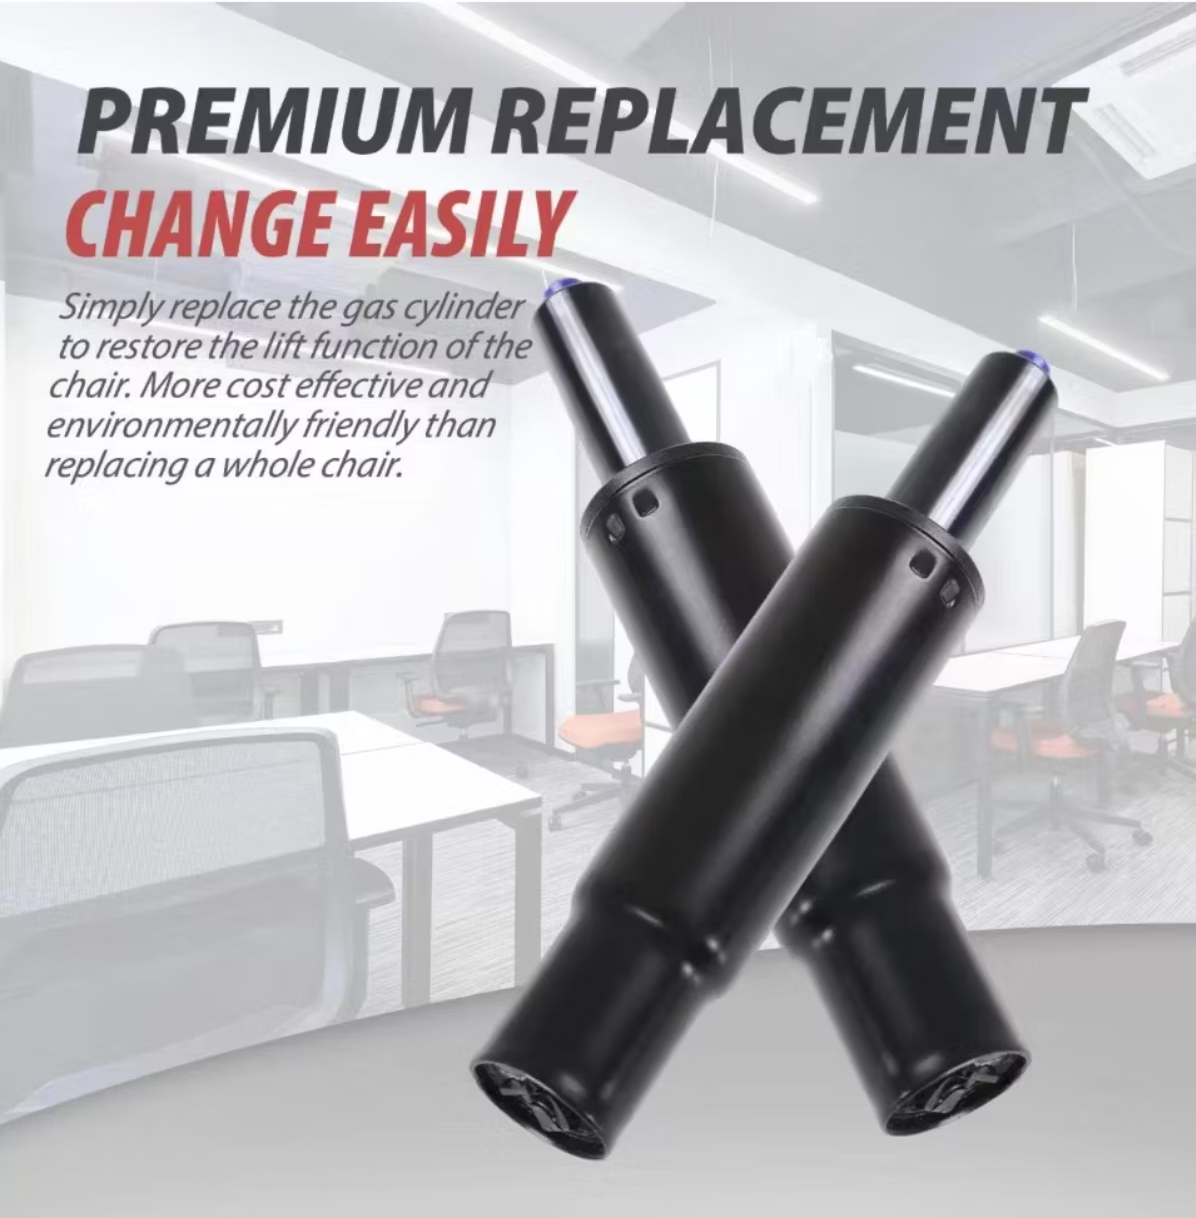
- Replacement gas lift cylinder: It should be compatible with the Herman Miller Aeron model.
- WD-40 or another penetrating oil: To loosen an old cylinder that has seized. Keep it off the new one: the tapered ends need to be clean and dry to grip.
- Cleaning cloth: For wiping down components and cleaning them of dirt or any other material.
Testing of the chair after installation ensures that replacement has been successful.
Safety Precautions Before Replacement
The first thing to consider while replacing the gas lift on the Herman Miller Aeron chair is safety. So, firstly, place the chair on some non-slippery floor that will not move somehow during manipulations. Then, put on protective gloves and eyeglasses in case working with parts under pressure may mean some particular risks. Prepare all necessary tools in good working condition: a rubber mallet, screwdrivers, and a pipe wrench.
Loosen any adjustable parts such as armrests or back support to minimize interference. Raise the seat to its highest position before you start, so there is more of the cylinder to grip.
Removing the Old Gas Lift from the Aeron Chair
First raise the seat to its highest position with the height lever. This releases the pressure inside the old cylinder and leaves more of it showing to grip. Then lay the chair gently on its side on a towel or blanket. Taking the old cylinder out is two jobs: first it comes out of the seat, then the base comes off it.
Step 1: get the cylinder out of the seat
The top of the cylinder sits in a tight taper in the seat mechanism, and after years of use it can be very hard to shift. There are three ways to free it, and the removal kit is by far the easiest. Whichever you use, first spray WD-40 or a similar penetrating oil where the cylinder meets the seat mechanism and give it a few minutes to soak in: it loosens the parts and makes every method easier.
Option A: a removal kit. Wipe any grease off the top part of the cylinder with an old rag so the collars can grip. Fit both collars round it with the shorter screws and slide them up as close to the seat as you can. Clamp the lower collar (B) really tight so it cannot move; the one against the seat (A) stays just loose enough to slide. Thread the two longer screws into collar B and tighten them evenly with the Allen key so they press against collar A. As you keep tightening, collar A pushes against the seat and the cylinder is drawn out. If it is still stuck, re-clamp collar B as tightly as you can and repeat.

Our removal kit in use, step by step, from the kit’s own product photos.
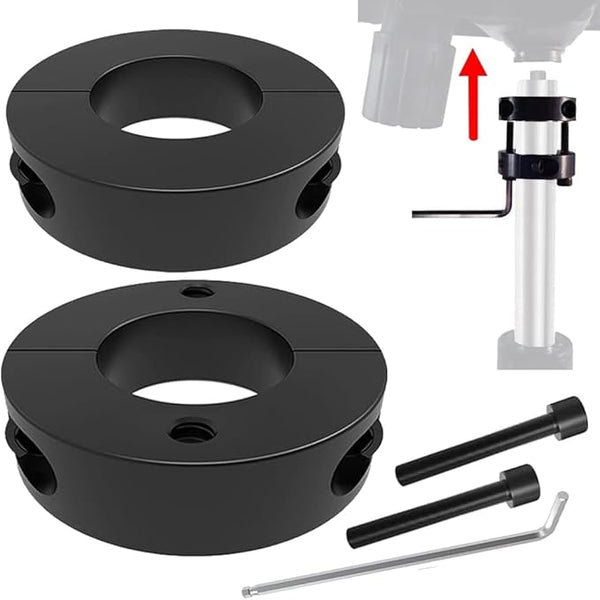
Cylinder removal kit · £16.99
Option B: a pipe wrench. Grip the cylinder close to the mechanism and twist it back and forth until it breaks free, then pull it out. The wrench teeth will mark the old cylinder, which does not matter as it is being replaced, but keep them off the mechanism.
Option C, on the Aeron, if the kit and the wrench have not worked: knock it out from the top. Undo the screws on the mechanism cover and lift the cover off. Then unscrew the height-adjustment actuator, the lever arm that sits on top of the gas lift, and lift it out, keeping its screws safe as it goes back on once the new cylinder is fitted. You will then see the top of the cylinder through a round opening in the mechanism. Sit a socket from a socket set in the opening, choosing one that fits and rests on the top of the cylinder, and tap the socket with a hammer to drive the cylinder out downwards. The socket takes the blows, so the hammer never touches the mechanism.

With the cover off and the height-adjustment actuator removed: the round opening in the Aeron mechanism where the top of the cylinder sits. This is where the socket goes.
Step 2: take the base off
The base is still stuck on the bottom of the old cylinder. Hold a block of wood against the end of the cylinder where it pokes through the middle of the base, and strike the wood with a large hammer or a dead blow hammer until the base comes off. The wood protects the parts from the hammer.

The end of the old cylinder poking through the middle of the base: hold the block of wood here and strike it.
If it still will not budge, spray WD-40 or another penetrating oil where the cylinder meets the base, wait about five minutes and try again. If that fails, leave the oil to soak in overnight.
As a last resort, prise off the retaining clip on the end of the cylinder with a flat-blade screwdriver. The base and the outer shell of the cylinder can then slide off the inner part, and the shell is easier to knock out of the base on its own. This can be messy, so lay an old towel down first.
Preparation of the Chair before Installation of the New Gas Lift
With the old cylinder out, set the seat to one side and stand the base upright on a firm, even surface, ready for the new cylinder. Check that the new cylinder is the right one for your chair before you go any further.
Clean the cylinder socket of any residue of the old gas lift, as well as any accumulated debris. Take a clean, dry cloth and clean up the socket area by dusting and cleaning grease from it. Ensure the new replacement gas lift is appropriate for the Aeron chair.
Installing the New Gas Lift on the Aeron Chair
Before you fit it, take off the plastic cap covering the button on top of the new cylinder, if it has one. It is only there for shipping, and the cylinder will not work with it on.
To install the new gas lift, take the new cylinder and align its base with the base of the chair. Insert the narrower end of the gas lift into the central socket of the chair base—ensure it sits properly.

The narrower end of the black tube (right) goes into the base; the silver top with the release pin goes up into the seat mechanism.
Photo: Forgószék javítás, CC BY-SA 4.0, via Wikimedia Commons
Put the seat assembly back on top, ensuring the upper socket goes over the cylinder. Push firmly in a downward direction to ensure the components held firm in place.
Carefully lower the chair to the floor and have a seat on it to further stabilize the gas lift. Check the height adjustment lever for smooth operation, making multiple adjustments as necessary.
Common Issues That May Arise During Replacement
There are several issues that one may experience while replacing the gas lift in a Herman Miller Aeron chair. Early identification ensures smoother repairs.
- Stubborn or Jammed Gas Lift: Apply lubricant to help loosen the sticking of the old gas lift. Work with a rubber mallet carefully, using controlled force to avoid heavy impacts that might damage the mechanism of the chair.
- Misaligned Base: The problem in re-attaching the base of the chair may be due to misalignment. Correctly center the gas lift within the base socket before pressing down.
- Chair Wobbling After Replacement: If wobbling occurs, make sure the new gas lift is fully seated into the mechanism and base. Any loose screws should be tightened.
Patience and precision are key to resolving these issues effectively.
How to Test and Adjust the Chair after Gas Lift Replacement
Now the Herman Miller Aeron gas lift has been replaced; the next step is the checking and adjustment of functionality. Carefully place the chair on a firm and level surface. Sit back in it and slowly actuate the height lever up, ensuring the seat rises smoothly and lowers down without malfunctioning.
Let the new gas lift operate without resistance or stiffness. Test the tilt mechanism by slowly reclining in the chair to ensure it provides proper support and fluid movement. If the recline tension requires adjustment, use the tilt tension knob located underneath the seat to set the desired firmness.
If the chair sinks or rises on its own after fitting: adjust the set screw
Many Aeron chairs, those with a cylinder that is pressed from the top (most made before mid-2013), have a small set screw in the seat mechanism. When you lift the height lever, the screw presses the release button on top of the cylinder. A new cylinder is not always exactly the same height as the old one, so the screw often needs a small adjustment after fitting. It is a common problem and a quick fix.
- Screw too tight: the button is held down all the time, so the seat rises on its own when you stand up and sinks when you sit down.
- Screw too loose: the button is never pressed, so the lever does nothing and the height will not change.
To adjust it, undo the screws on the mechanism cover and lift the cover off, as in Option C above. With a 4 mm Allen key, turn the set screw a quarter turn at a time: anticlockwise if the seat sinks or rises on its own, clockwise if the lever does nothing. After each quarter turn, sit on the chair and try the lever. Stop as soon as the seat holds its height and the lever raises and lowers it properly, and do not over-tighten the screw. Then refit the cover.

The set screw (arrowed) on the height-adjustment actuator, which sits right over the top of the cylinder.
Caring for Your Aeron Chair to Ensure Long Life
Proper maintenance is key to keeping your Herman Miller Aeron chair in good working condition and comfort for years to come. The general care it requires is cleaning, component inspection, and prompt addressing of small issues.
- Clean surfaces regularly: Regularly dust the mesh and frame with a soft cloth; vacuum the chair to avoid accumulation of debris. In case of stains, use a mild soap solution; harsh chemicals will damage the material.
- Inspect moving parts: Take the gas lift, the tilt mechanism, and wheels every now and then and get them serviced. Fix those loose bolts and oil the mechanical parts.
- Care for the chair: Place a floor mat under the wheels for both hardwood and carpet floors to protect the wheels and floor. Avoid exposing the chair to extreme temperatures for prolonged periods or direct sunlight for long periods.
Regular maintenance increases the chair's life and comfort.
Frequently Asked Questions About Gas Lift Replacement
How long does it usually take to change out the gas lift?
Generally, it takes about 15-30 minutes to replace a gas lift in a Herman Miller Aeron chair. However, the time may vary depending on one’s experience and availability of tools.
What tools are required for gas lift replacement?
Major tools include a rubber mallet, a pipe wrench, or locking pliers, possibly a flathead screwdriver for removing stubborn components.
Can the old gas lift be reused?
Typically, the old gas lift cannot be reused, as it loses its lifting capability over time and cannot provide reliable service.
Does replacing the gas lift void the warranty?
If you bought the chair new and it is still within Herman Miller’s warranty, contact them first. The warranty normally covers only the original buyer, so second-hand chairs are usually not covered, and changing the cylinder yourself is a straightforward repair.
Are third-party gas lifts compatible?
Yes, as long as the cylinder is made for your chair. Different models take different cylinders, so check that the part is listed for your model.
Conclusion and Final Tips for a Successful Repair
Precise detailing at every step is crucial for an incident-free replacement of a gas lift in your Herman Miller Aeron chair. Have all tools prepared, be accurate with the installments, and do not use excessive force while fitting the parts.
Test all the functions of the chair before using it regularly. In case complications arise, always refer to the repair manual or get professional assistance to preserve the structural integrity of your chair.
Questions people ask about this
How do I know the gas lift has failed?
The usual sign is the seat sinking slowly while you are sitting on it, or refusing to hold the height you set. If the chair still rises and falls normally but feels stiff, the cylinder is probably fine.
Which cylinder do I need?
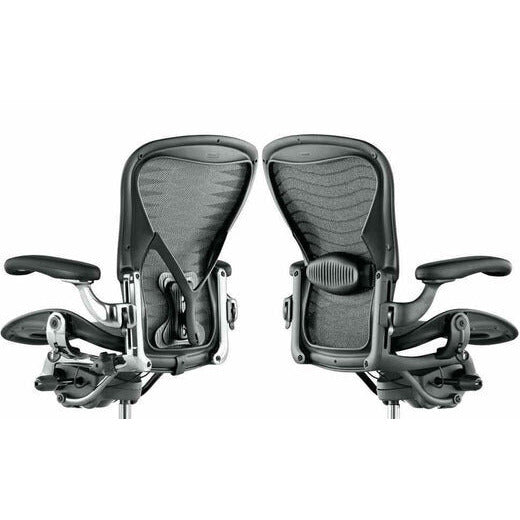
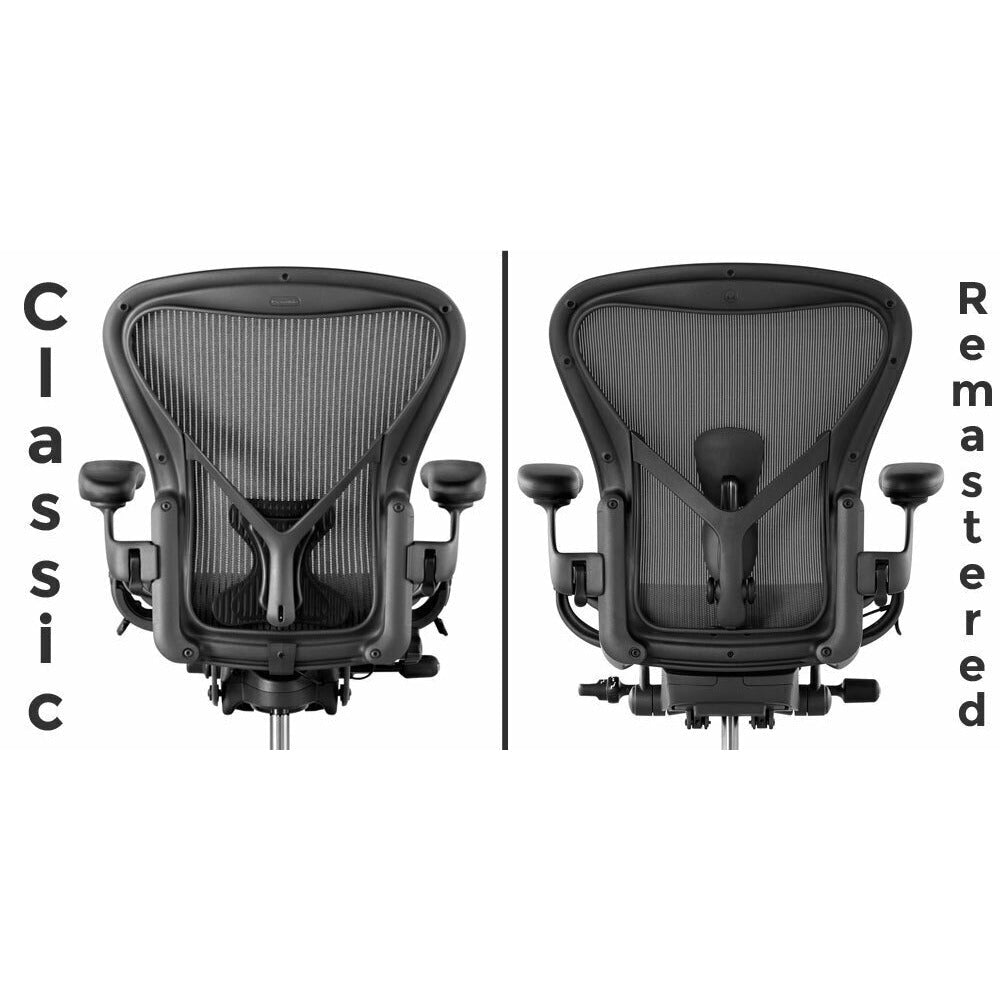
It depends on the chair. The Aeron Classic and the Aeron Remastered take different cylinders, and the Mirra and the Steelcase Leap V2 take their own. If you are not sure which chair you have, send us a photo and we will tell you.
Do I need a removal tool?
Often, yes. Cylinders seize into the seat mechanism over time and can be very hard to shift by hand. Our removal kit draws the old cylinder out with two screws, with no hammering, and fits office chairs generally.
Can I do it myself?
Most people can. It is a mechanical job rather than a delicate one, and the guide above covers the order of work.
My new cylinder sinks or rises on its own. What is wrong?
On many Aeron chairs the set screw that presses the cylinder’s button needs a small adjustment after fitting. Take off the mechanism cover and turn the screw a quarter turn at a time with a 4 mm Allen key: anticlockwise if the seat sinks or rises on its own, clockwise if the lever does nothing.
Not sure which part fits your chair? Send us a photo and we will tell you.
Gas lifts, cylinders and removal tools
Genuine and OEM-quality spares, in stock with free UK delivery.
-
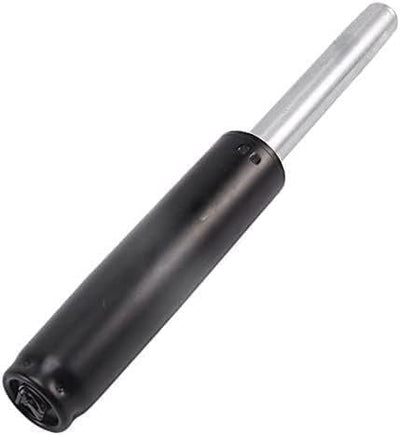 Hydraulic Gas Lift Replacement for Herman Miller Aeron Chair - LARGE - Extra Height Lift
£39.95
-
Hydraulic Gas Lift (Large) Replacement for Herman Miller Remastered Aeron Chair
£39.95
-
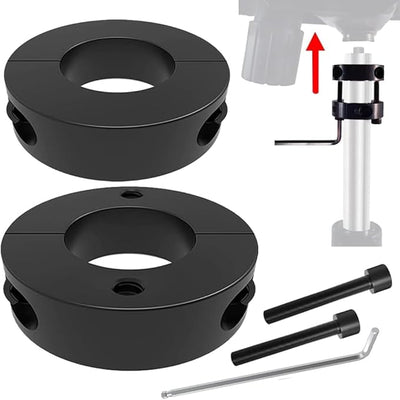 Chair Cylinder Removal Tool – Gas Lift Removal Kit for Office Chairs - Universal Size
£16.99
-
 Herman Miller Aeron Classic Height Adjustment Pneumatic Cable Assembly - Genuine OEM Part
£39.99
-
 Herman Miller Aeron Classic Height Adjustment Pneumatic Cable Assembly – Includes Actuator
£49.99
-
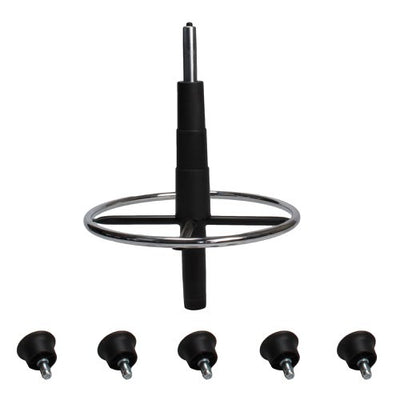 Herman Miller Stool Conversion Kit
£69.99